Carbon Journal, Day 3, Part 2
Day 3, Part 2: Prints Come Alive
The third day of carbon printing continues, with plenty of accompanying visuals!
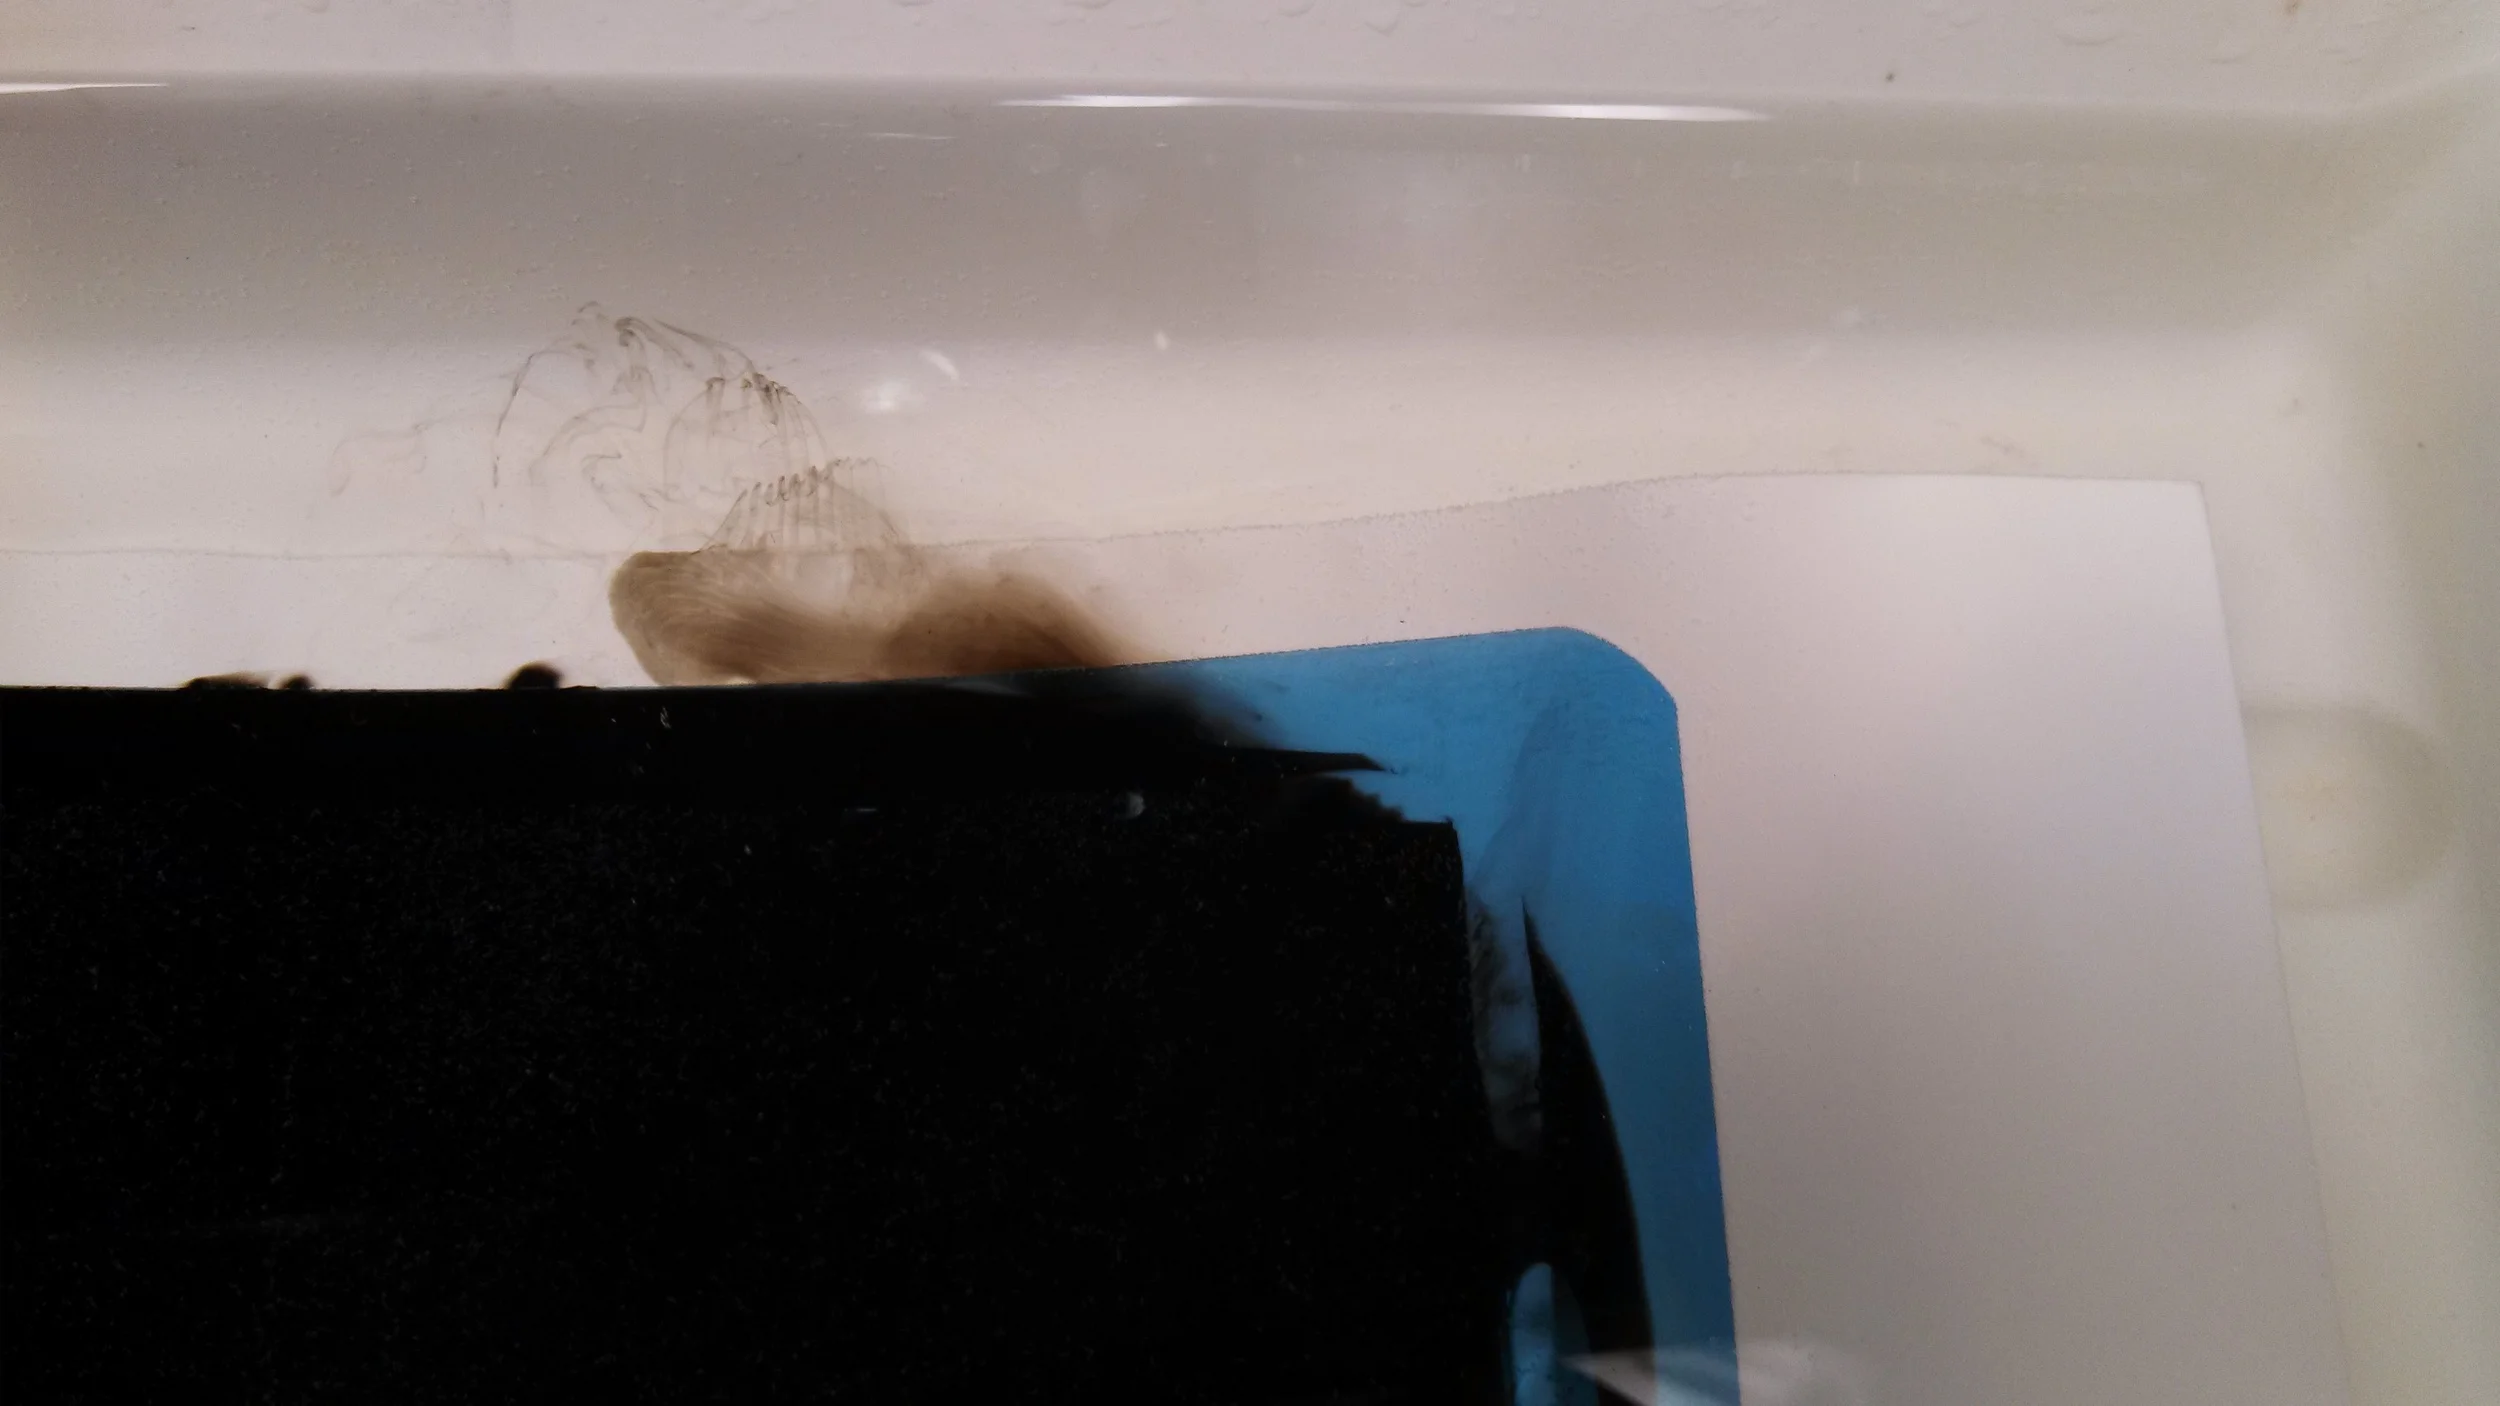
6:56PM - Carbon "sandwich" has been moved to hot water bath, ~105 degrees (F) and after two minutes, is already showing signs of melting gelatin. Gelatin that wasn't exposed to the UV light from the plate burner will slowly begin to melt away.
Unexposed gelatin melts in the hot water bath and begins to "ooze" out. This is how you know it's time to pull.
6:57PM - Firmly gripping one corner, the carbon tissue is pulled apart from the final support (using constant, but firm pressure while pulling). The tissue is now rinsed off in a separate hot water bath, cleaned off, squeegeed, and reused for the next printing session. The final support, now holding the carbon transfer, is kept in water bath to finish development.
7:05PM - Development has more or less ended, with no more excess gelatin melting off of the print. Several "jittery" agitations are made to the print to assure all melted gelatin is removed. Now, the print is moved to a cold water "stop bath" to let the gelatin set.
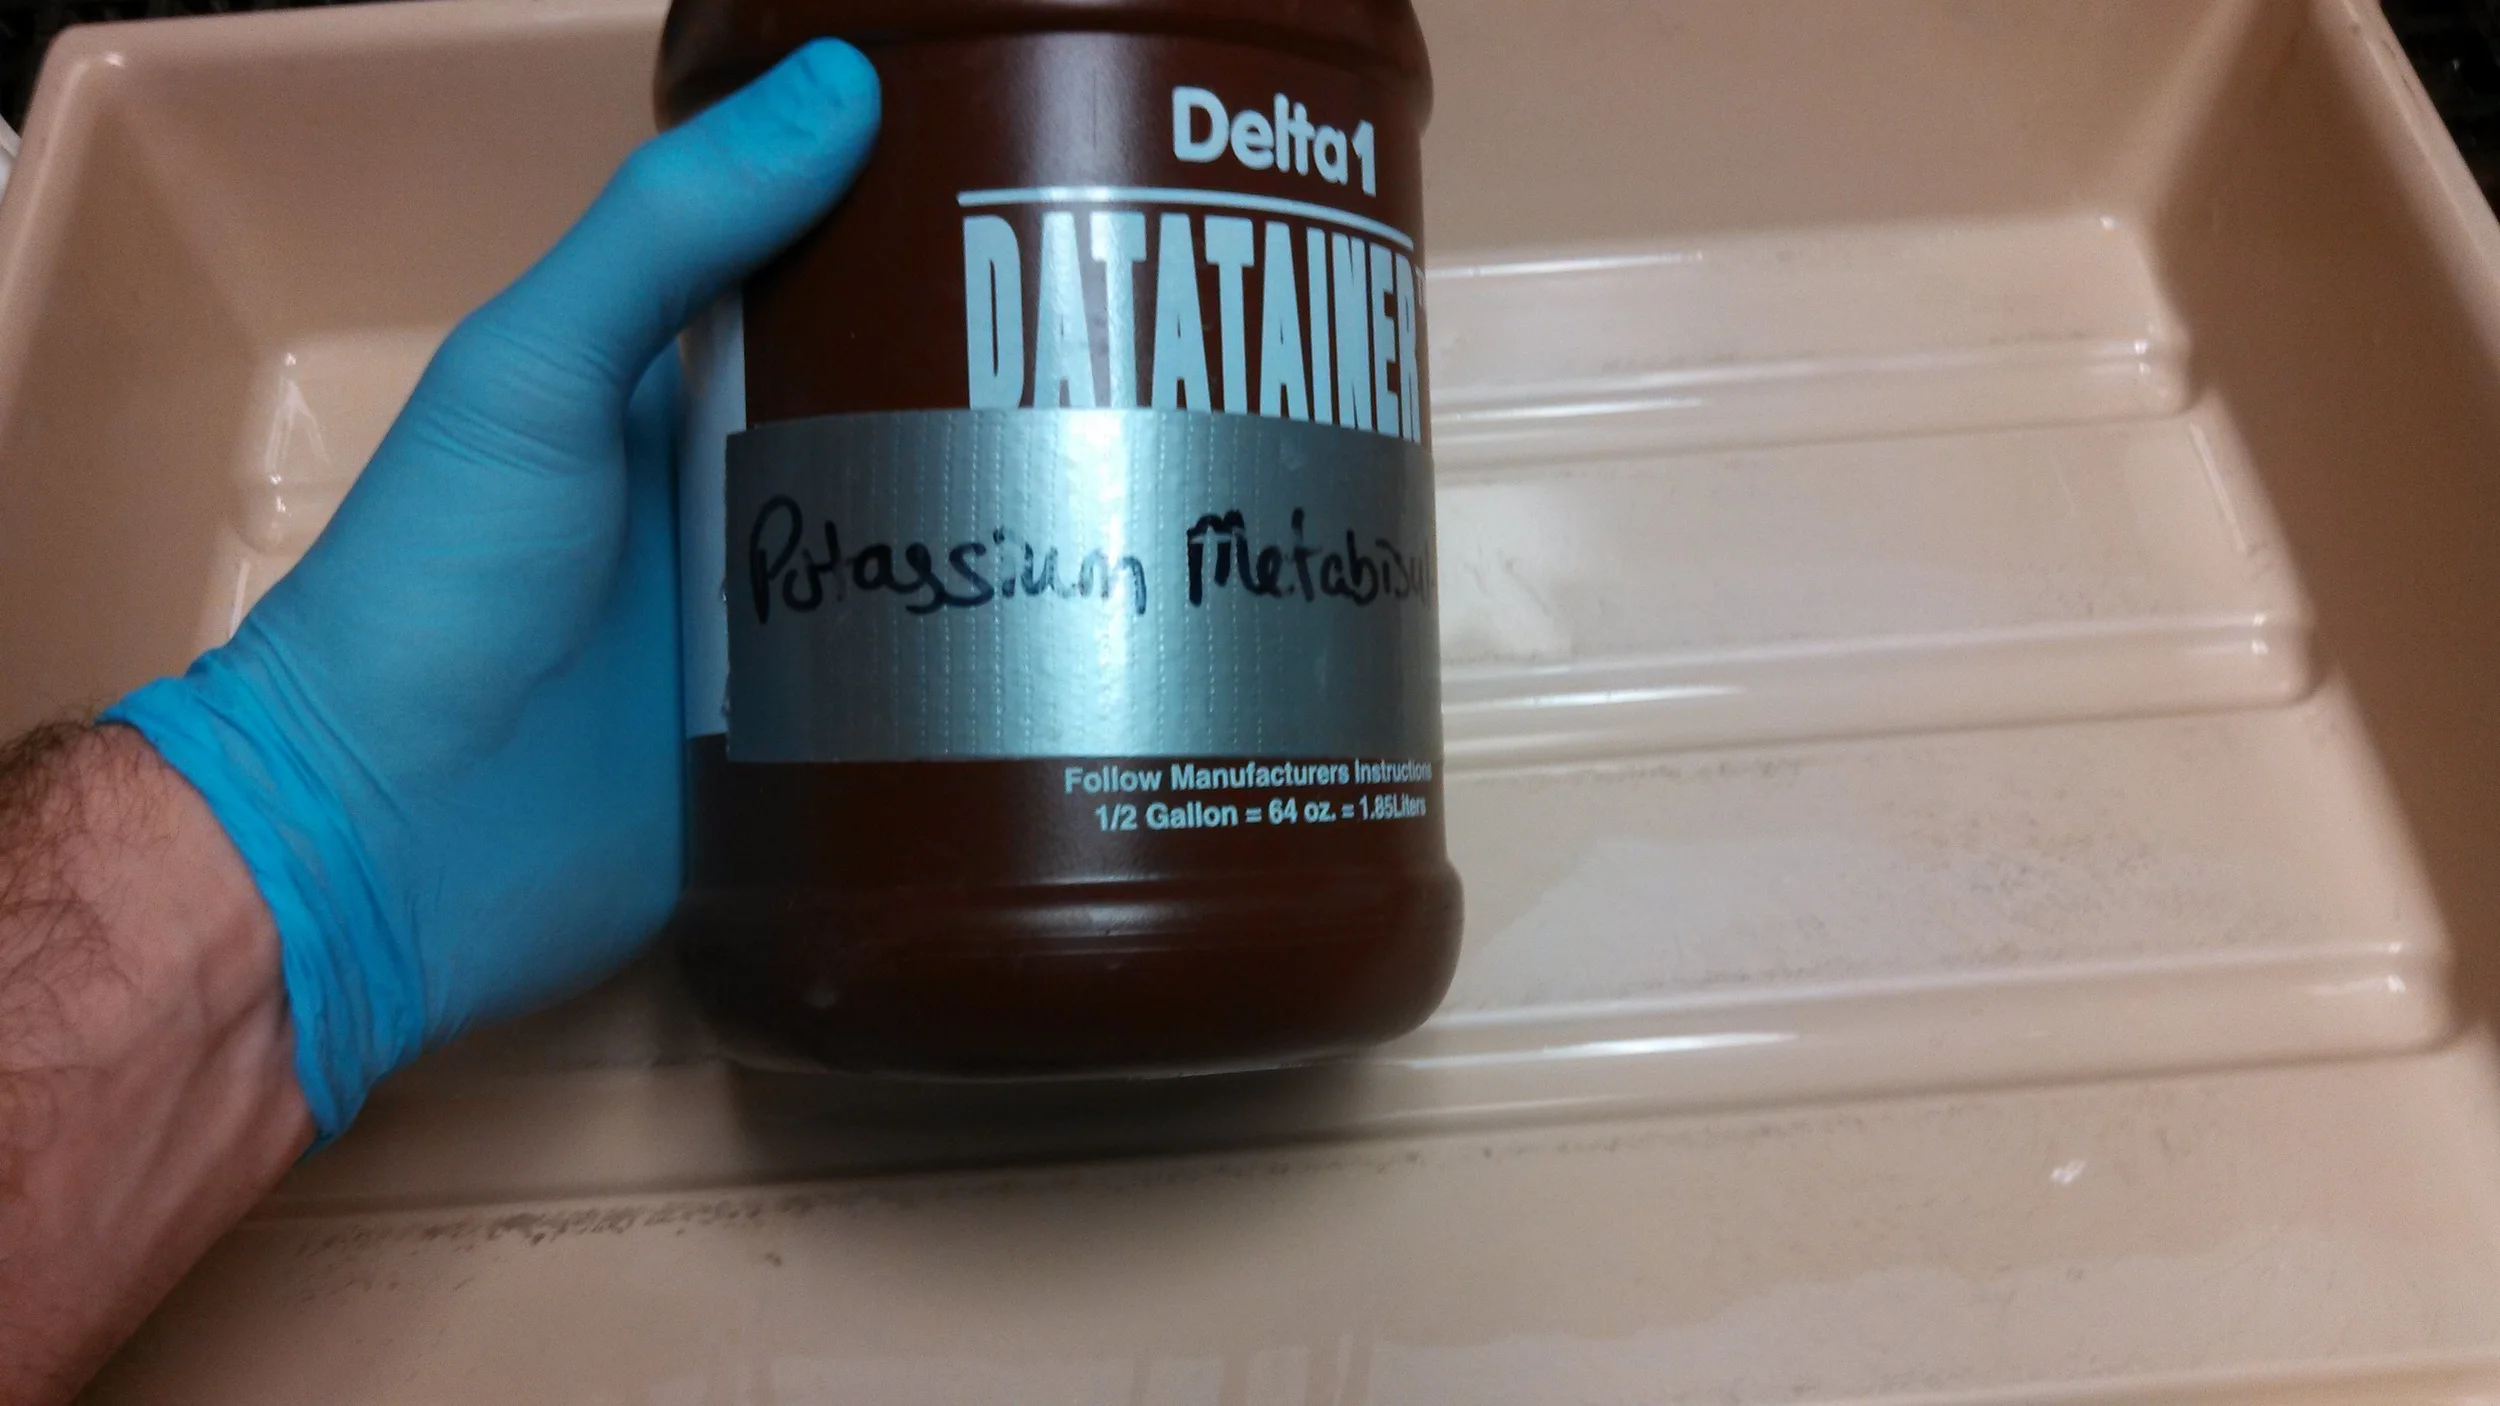
Yet another nasty compound, this time for clearing prints. I recommend GOOD ventilation when using this!
7:10PM - After a brief cold water bath, the print is moved to a weak solution of potassium metabisulfite to clear out the yellow stain imparted by the potassium dichromate. Staining typically occurs in more fibrous papers, but it's still a good idea to clear out all the dichromate possible. When this stuff starts working, try to keep a fair distance from the tray, as it's quite pungent.
7:15PM - The final print is moved back to a cold water bath for final washing, followed by a quick cleanup around the edges (removing excess gelatin). From here the print is placed on a drying screen, and it's time to repeat the process two more times!
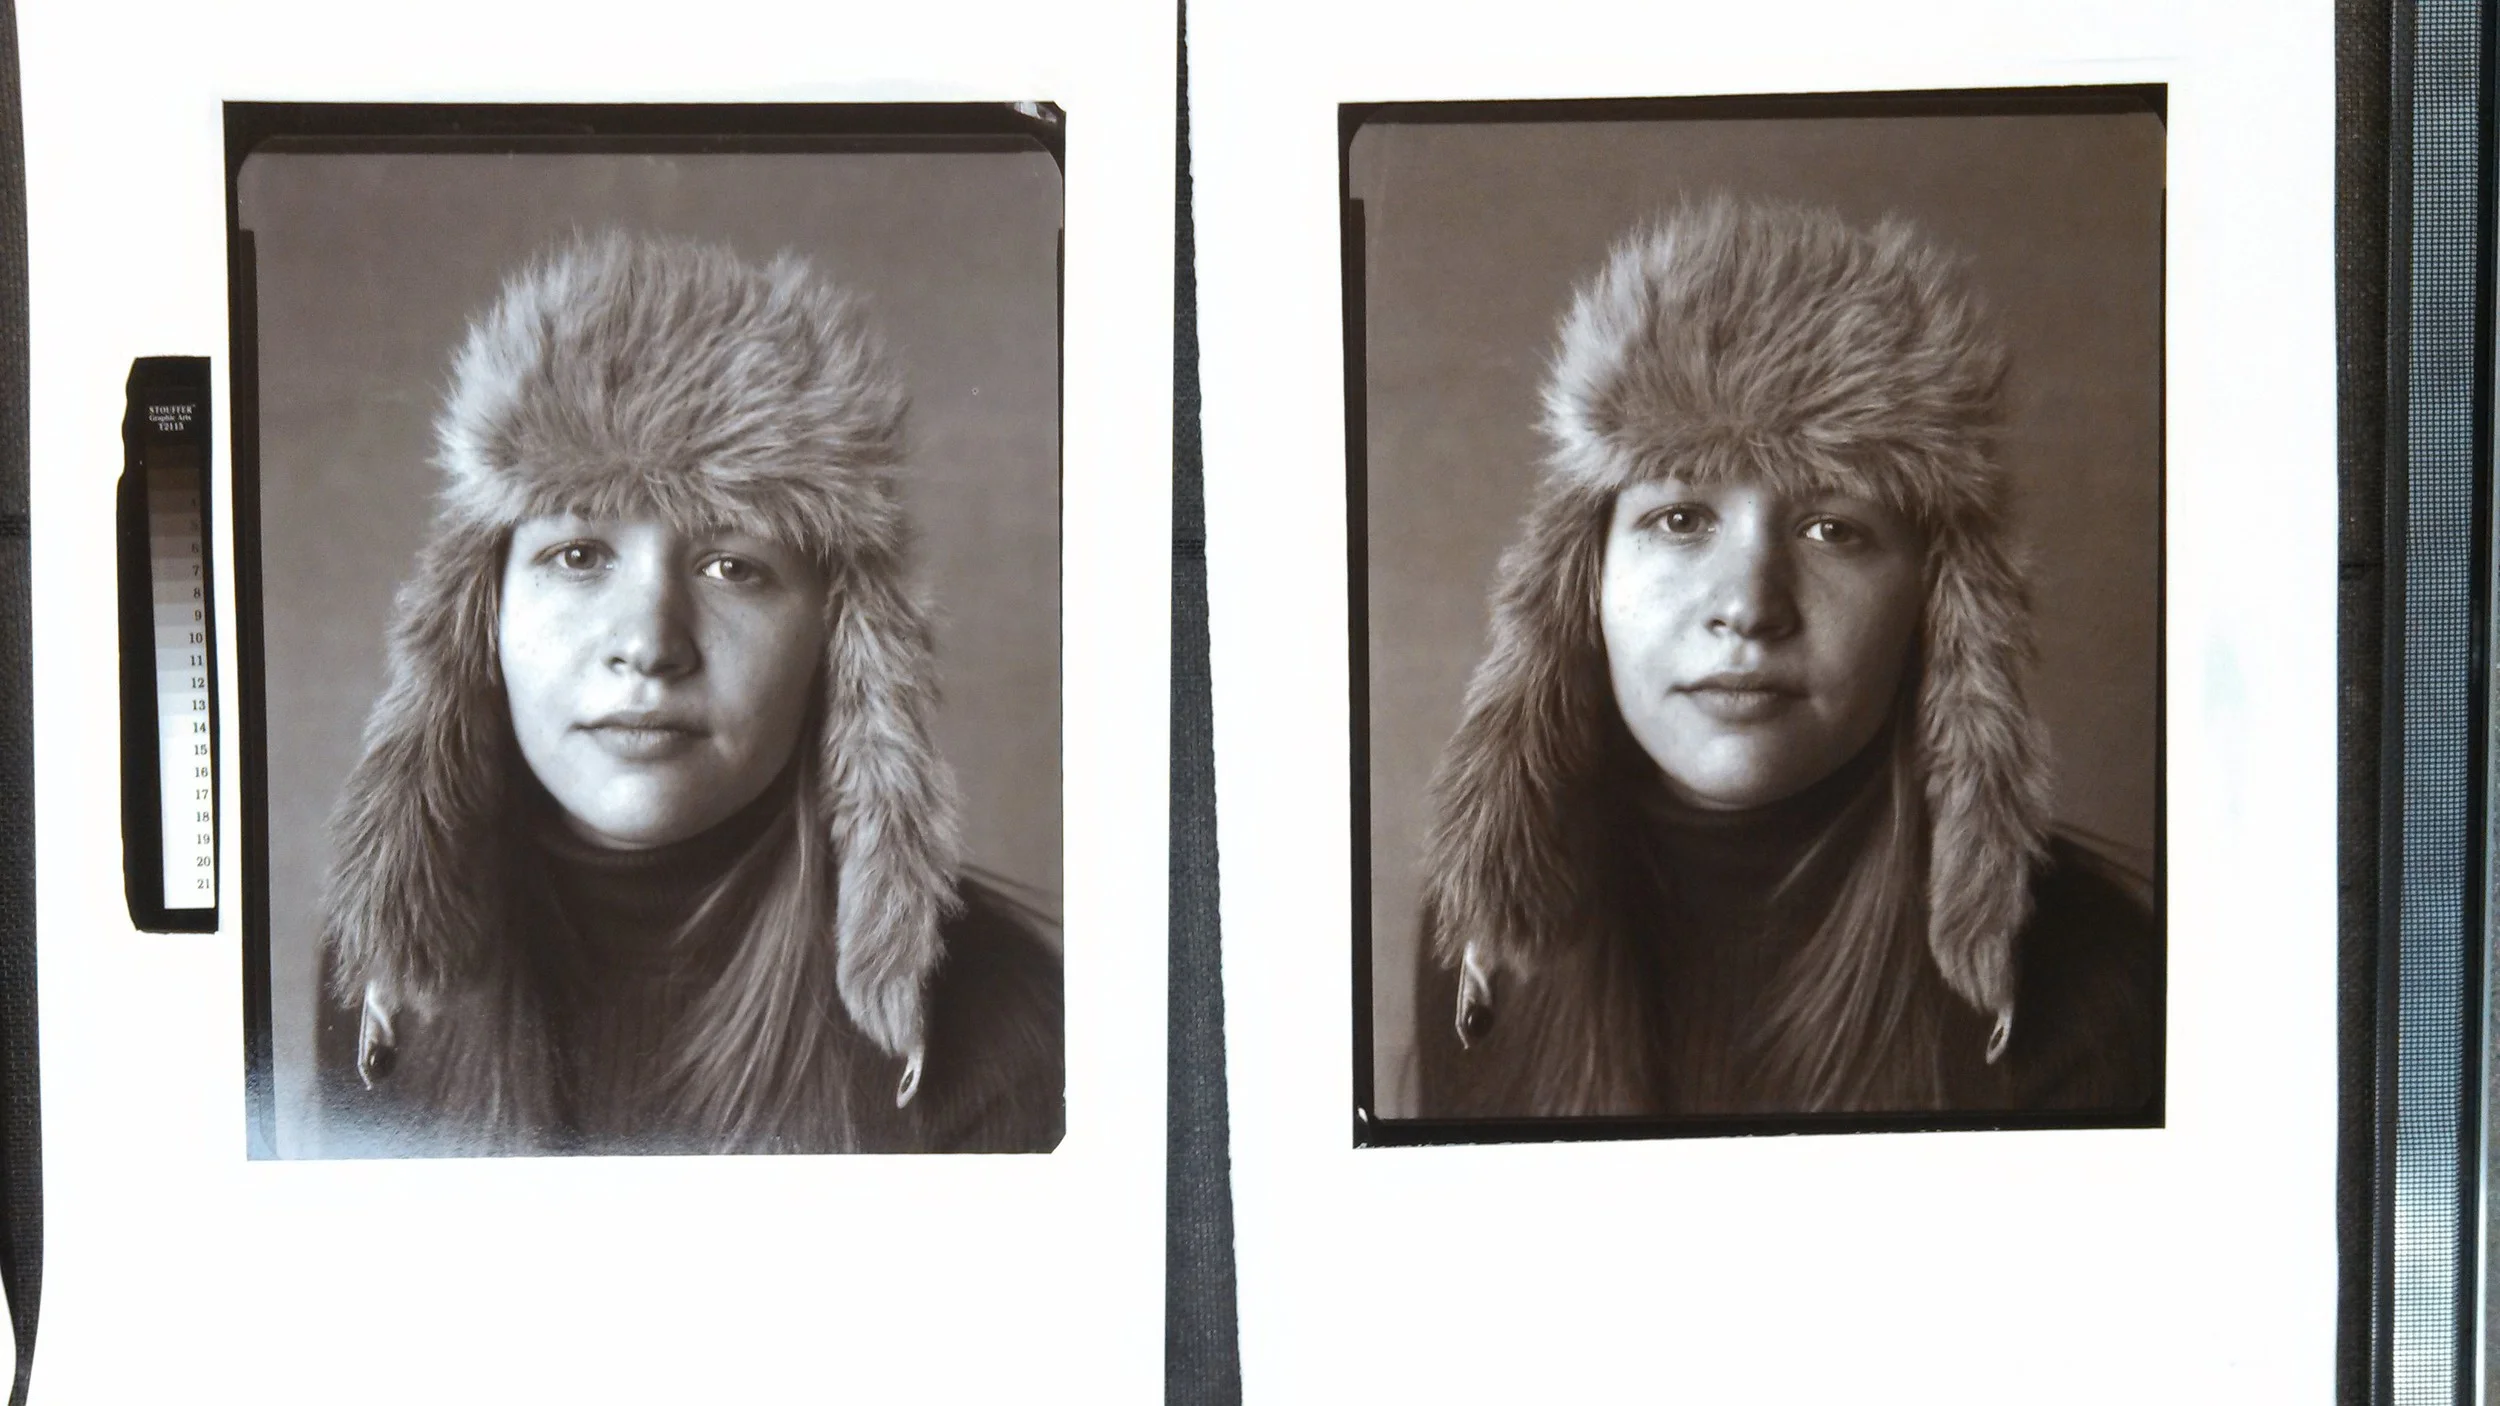
Two finished prints for the day, the left on baryta paper, and the right on Fabriano Artistico.
Overall, printing went well today. Was two for three on stress-free pulls. The first test on the fixed-out fiber paper had frilling on the right edge of the print. In retrospect, this was due to insufficient re-hydration of the fiber paper prior to the mating bath. When drying, the paper curled just enough to create an air pocket, thus causing an error during separation. The next two pulls, shown above, came out acceptably, and only needed minor exposure adjustment to arrive at the finished print on the right.
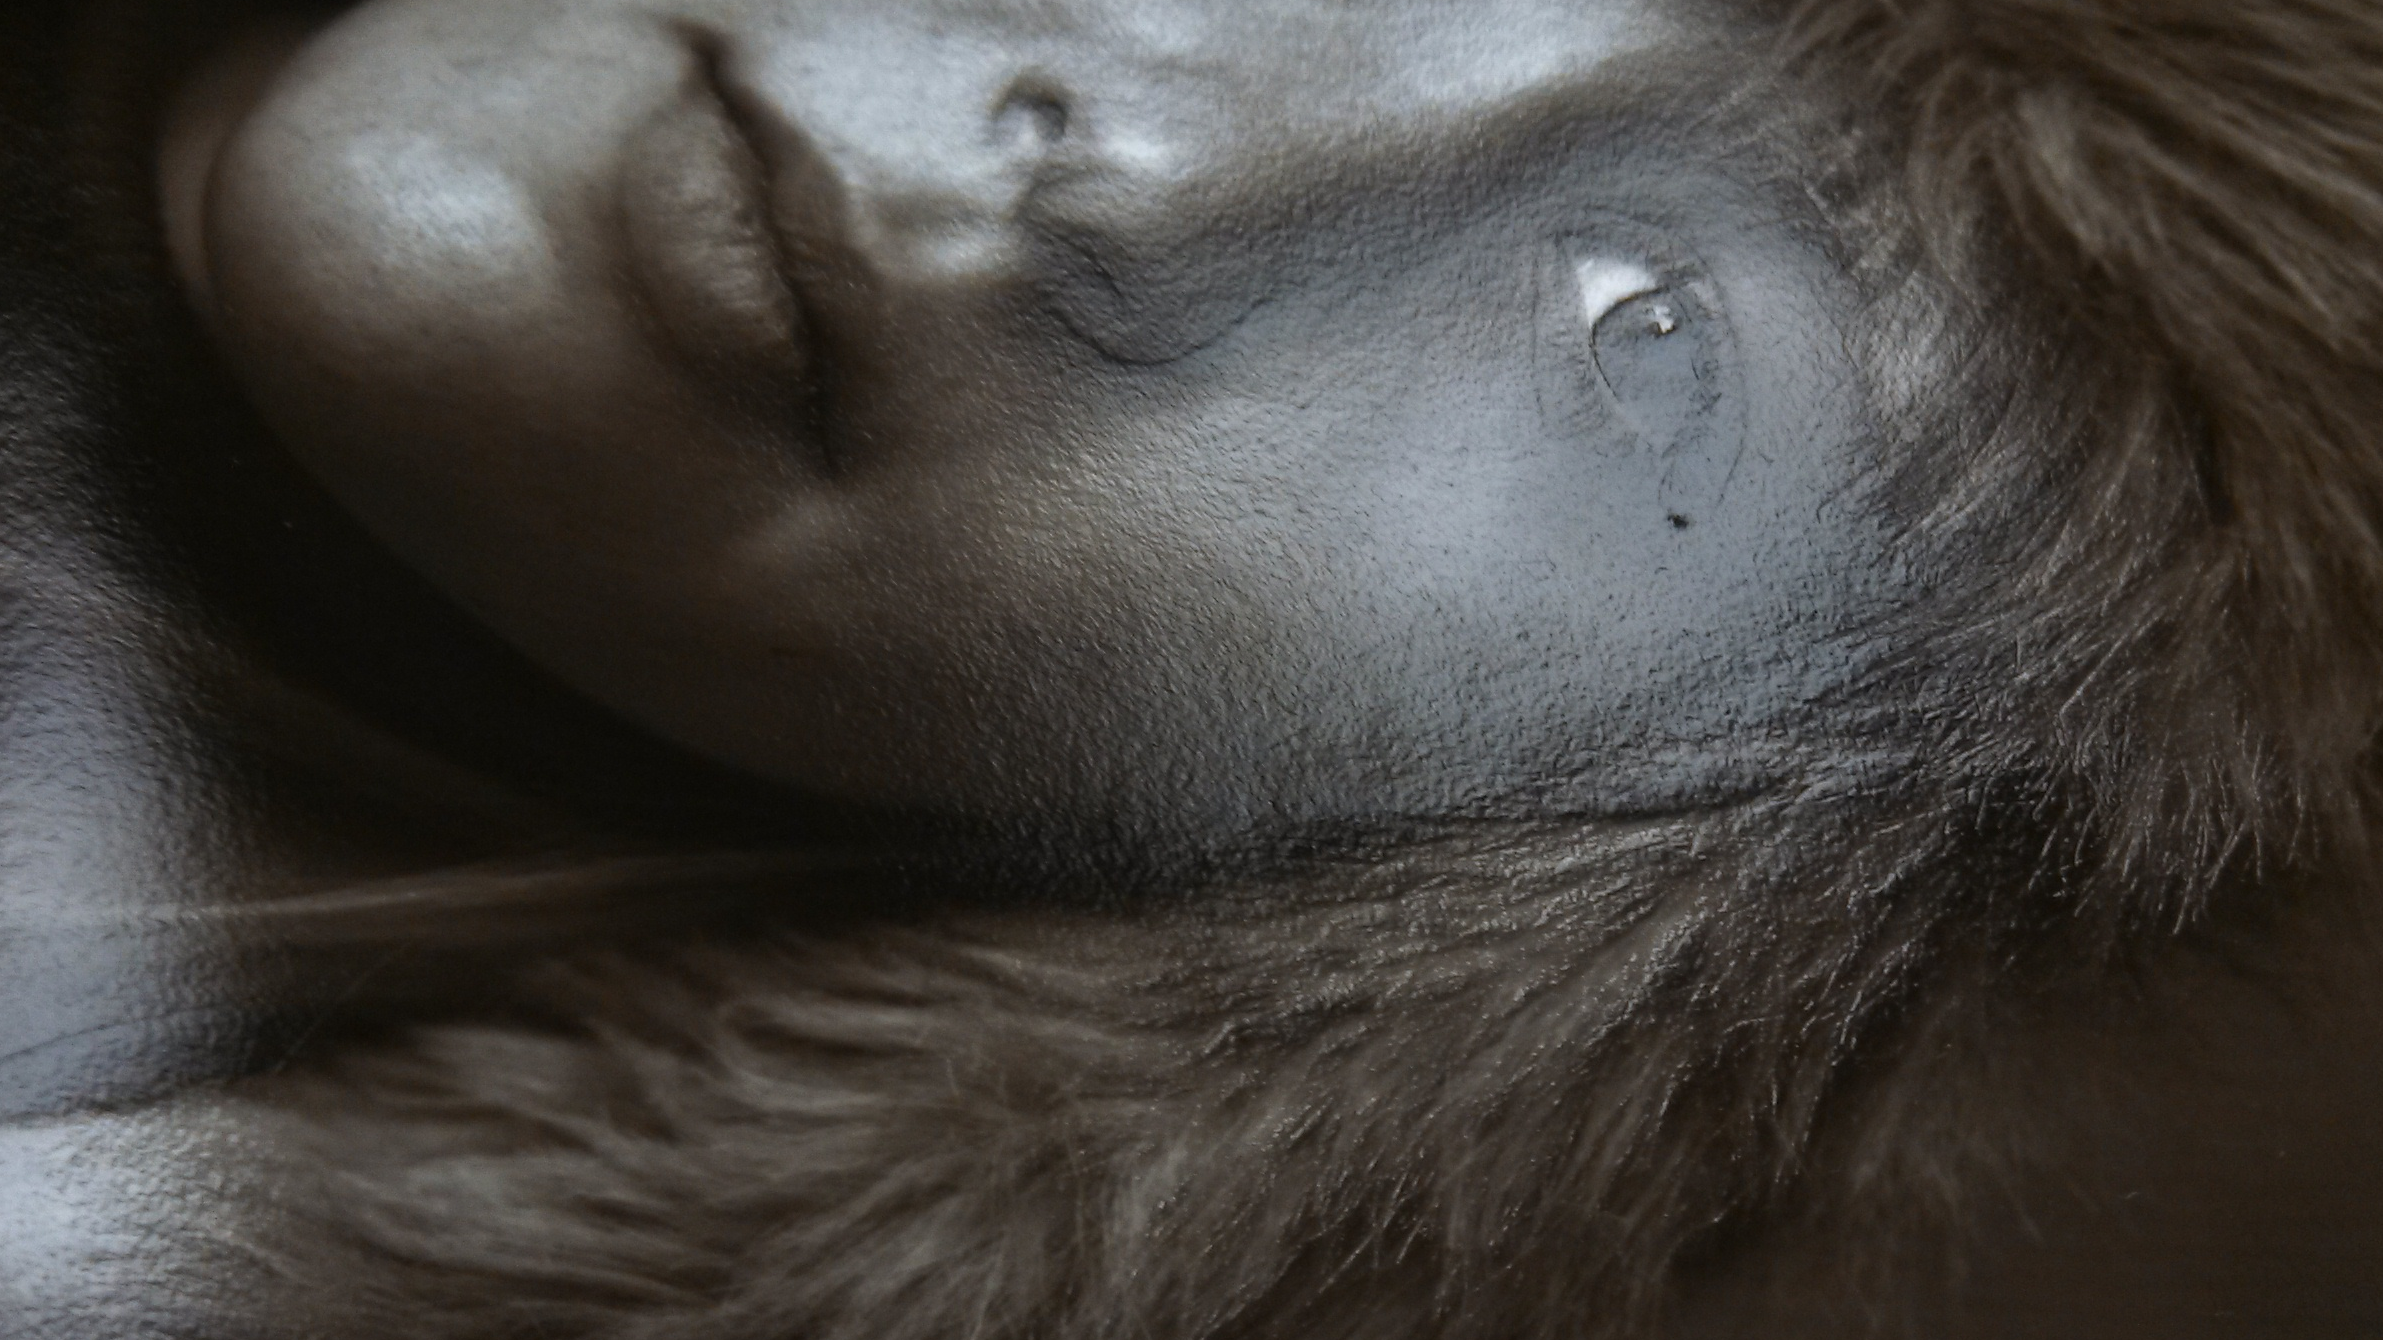
For those who might not know, since carbon transfer prints are made up of layers of pigmented gelatin sitting on top of their support medium, the prints can actually have visible relief. Using larger amounts of lesser pigmented glop is one way to exaggerate relief in prints. Otherwise, all carbon single transfers will exhibit some relief while still wet, (see below).
This is not texture in the paper you're seeing folks, this is the dimensional relief that carbon transfers can have!
Well, that was a fun experiment! Now that I know the general characteristics of my warm tone, Black Cat India Ink, high contrast tissue, it's time to move onto another glop tissue for a little more relief! ;)


